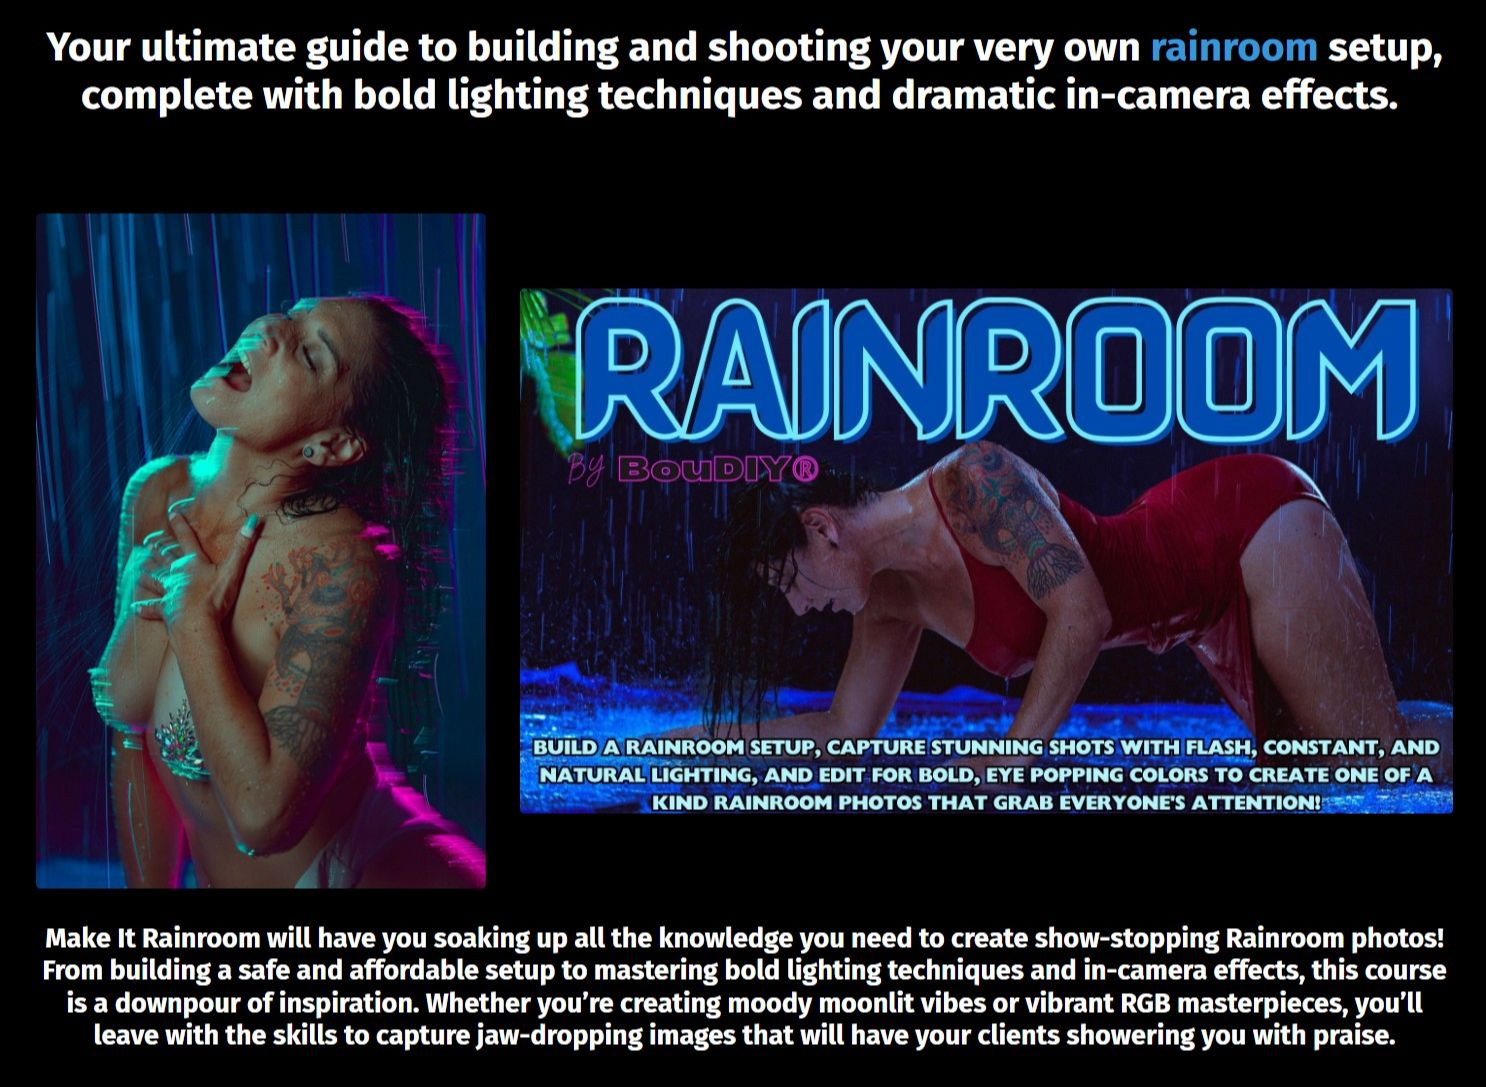
BouDIY® DIY Faux Rainroom Training: Create Wet-Look Shots Without a Rain Room!
This free boudoir training shows you how to fake the look using stuff you probably already have—no plumbing and no stress! If you've been dying to add moody, wet shots to your portfolio but don’t have the setup yet, this is the workaround. You'll learn how to light it right, make the water show up in camera, and pull off a shoot that looks high-end without all the heavy lifting.
Not sure if water sets are your thing? Try this first.
This training shows you how to test the waters (literally) using stuff you already have—like a hose, watering can, spray bottle, and smart lighting that actually makes the water show up on camera (instead of vanishing into the background).
If your water shots keep turning into a muddy mess or the droplets just... disappear, this training fixes that. We’ll go over the exact light angles, water tools, and settings that make the effects show up well on camera.
Whether you’re in your yard or faking it in a corner of your studio, this is a low-lift, high-impact way to see if the wet-look vibe is something you want to keep exploring.
Topics & Timestamps
Want to skip ahead? Here’s your cheat sheet to jump right to the part you need:
-
Intro + Why Faux Rain Works – 0:00
-
The Backyard Hose Setup – 0:56
-
Lighting for Water Visibility – 1:42
-
Camera Settings That Matter – 3:36
-
Freezing vs. Blurring Droplets – 5:19
-
No Hose? Other Water Options – 6:25
-
Indoor Faux Rain Tips – 9:17
-
Making Droplets Show Up – 9:58
-
Playing with Water Texture – 10:19
-
Final Thoughts + Bonus Oil Trick – 11:47
Breakdown of What’s Covered (And How to Pull It Off)
1. Backyard Faux Rain Setup
-
Use a standard garden hose with a $20 nozzle (shower, fan, or mist setting)
-
Have an assistant hold the hose overhead—no PVC or build needed
-
Position a plain backdrop (fabric, fence, garage wall) to make water visible
-
Optional: Use an umbrella for client comfort or aesthetic layering
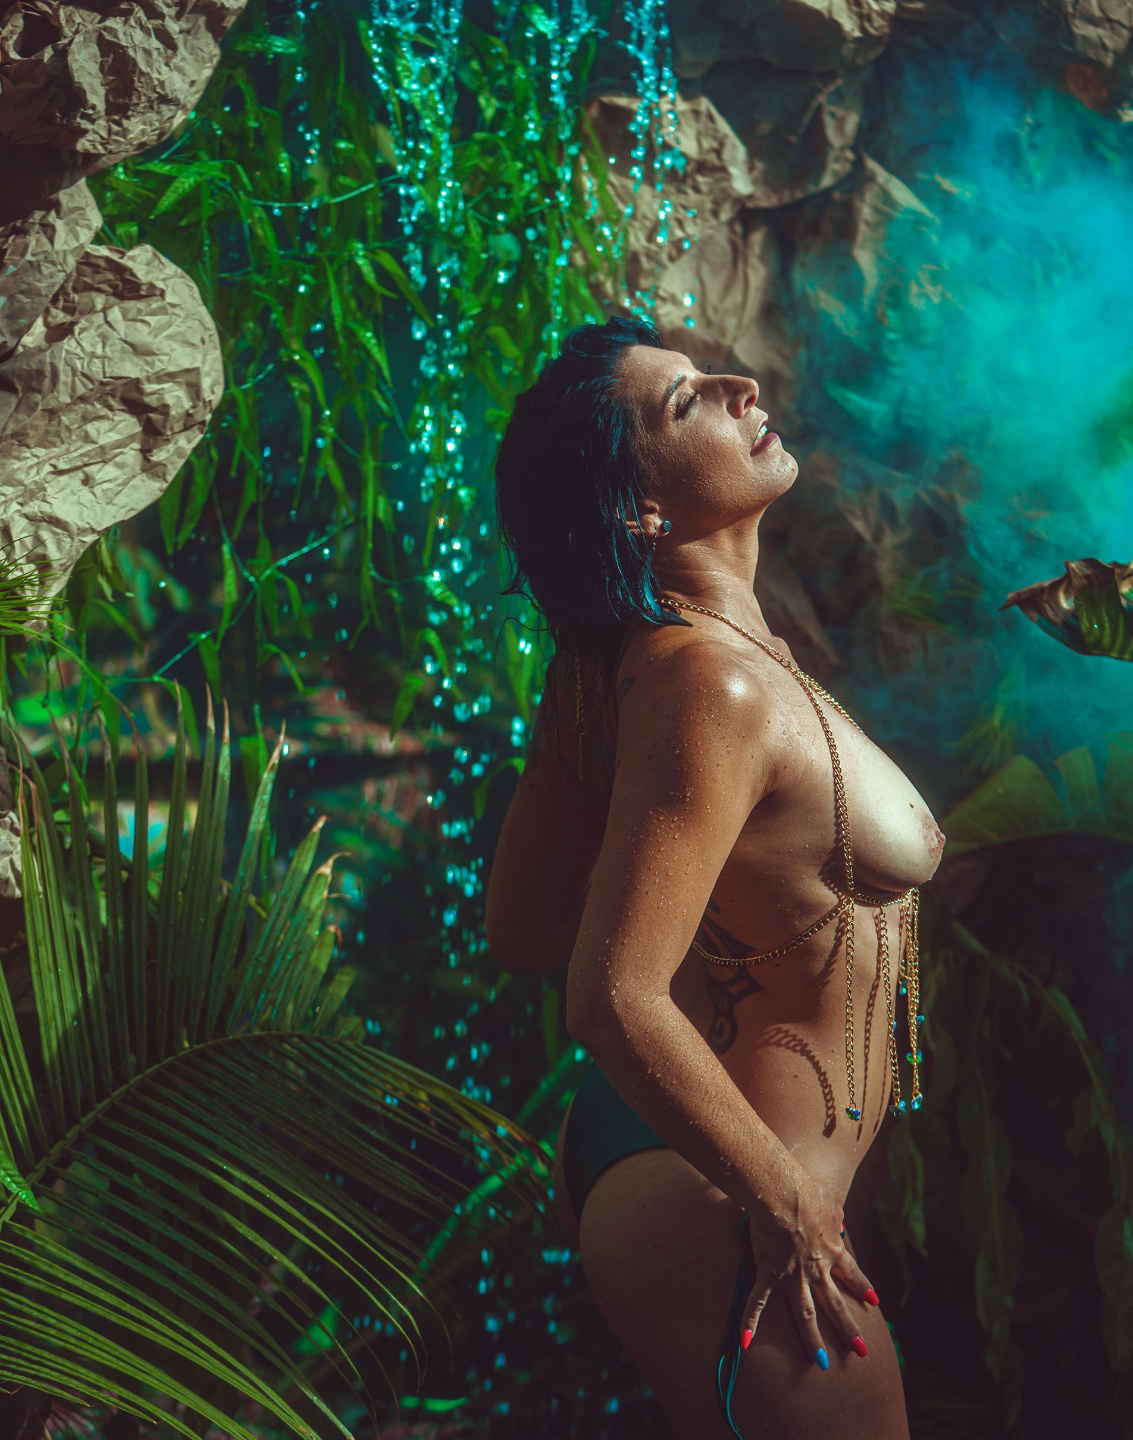
2. Lighting to Make Water Show Up
-
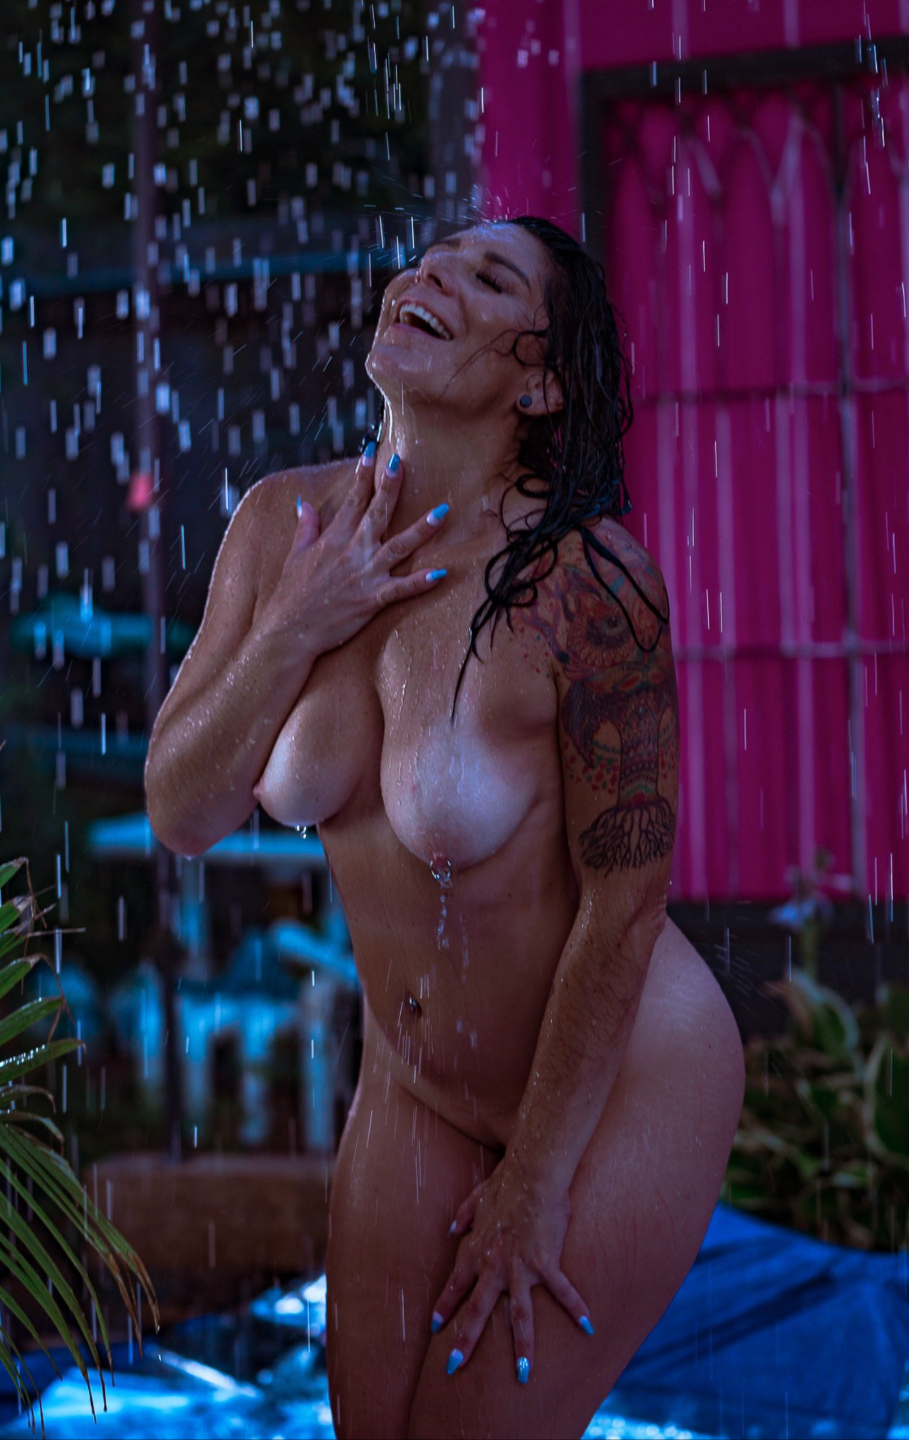
Always light from behind—either 2 lights at 45° or 1 light centered behind the subject
-
Try handheld LEDs, constant lights, or the sun (yes, natural light works!)
-
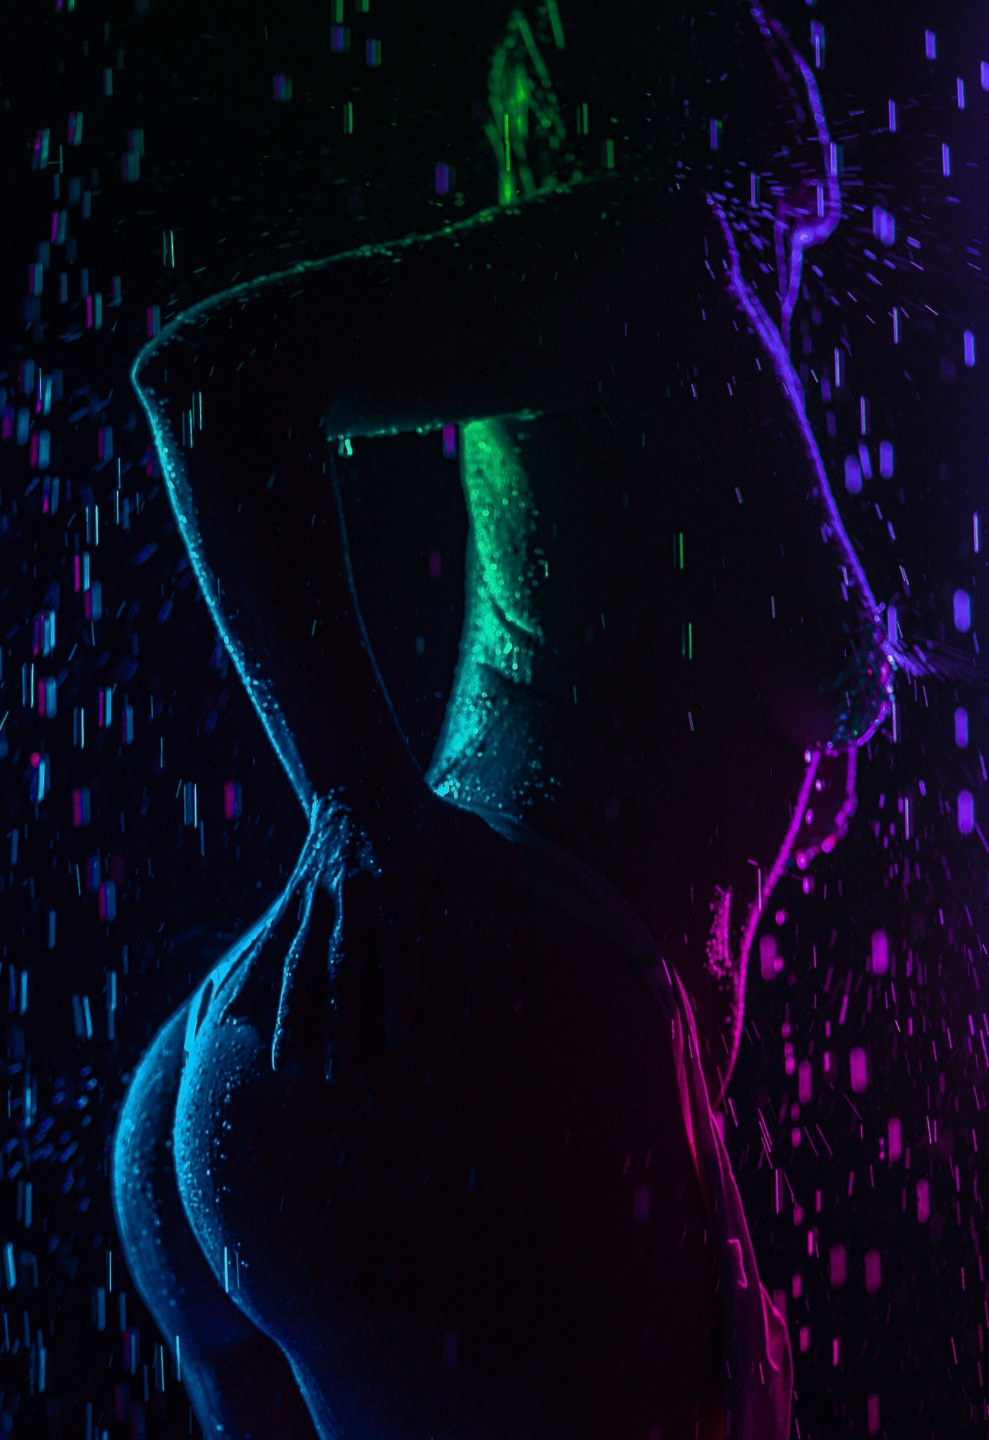
If the front isn’t lit, you’ll get a silhouette—great for drama or RGB play
3. Shutter Speed, Aperture & Angles
-
Freeze water with fast shutter (1/600+); blur it with slower shutter (~1/125)
-
Use f/1.2–f/2.8 for shallow focus and dreamy droplets
-
Use f/8–f/16 if you want crisp water detail across the frame
-
Move back if you’re shooting wide open—distance increases depth of field
4. Faux Rain Without a Hose
-
Try a watering can: assistant pours slowly over the client
-
Spray bottles = soft mist for dewy, romantic close-ups
-
Pour from a cup for ultra-controlled, slow-motion looks
-
Don’t forget: the direction of light still matters
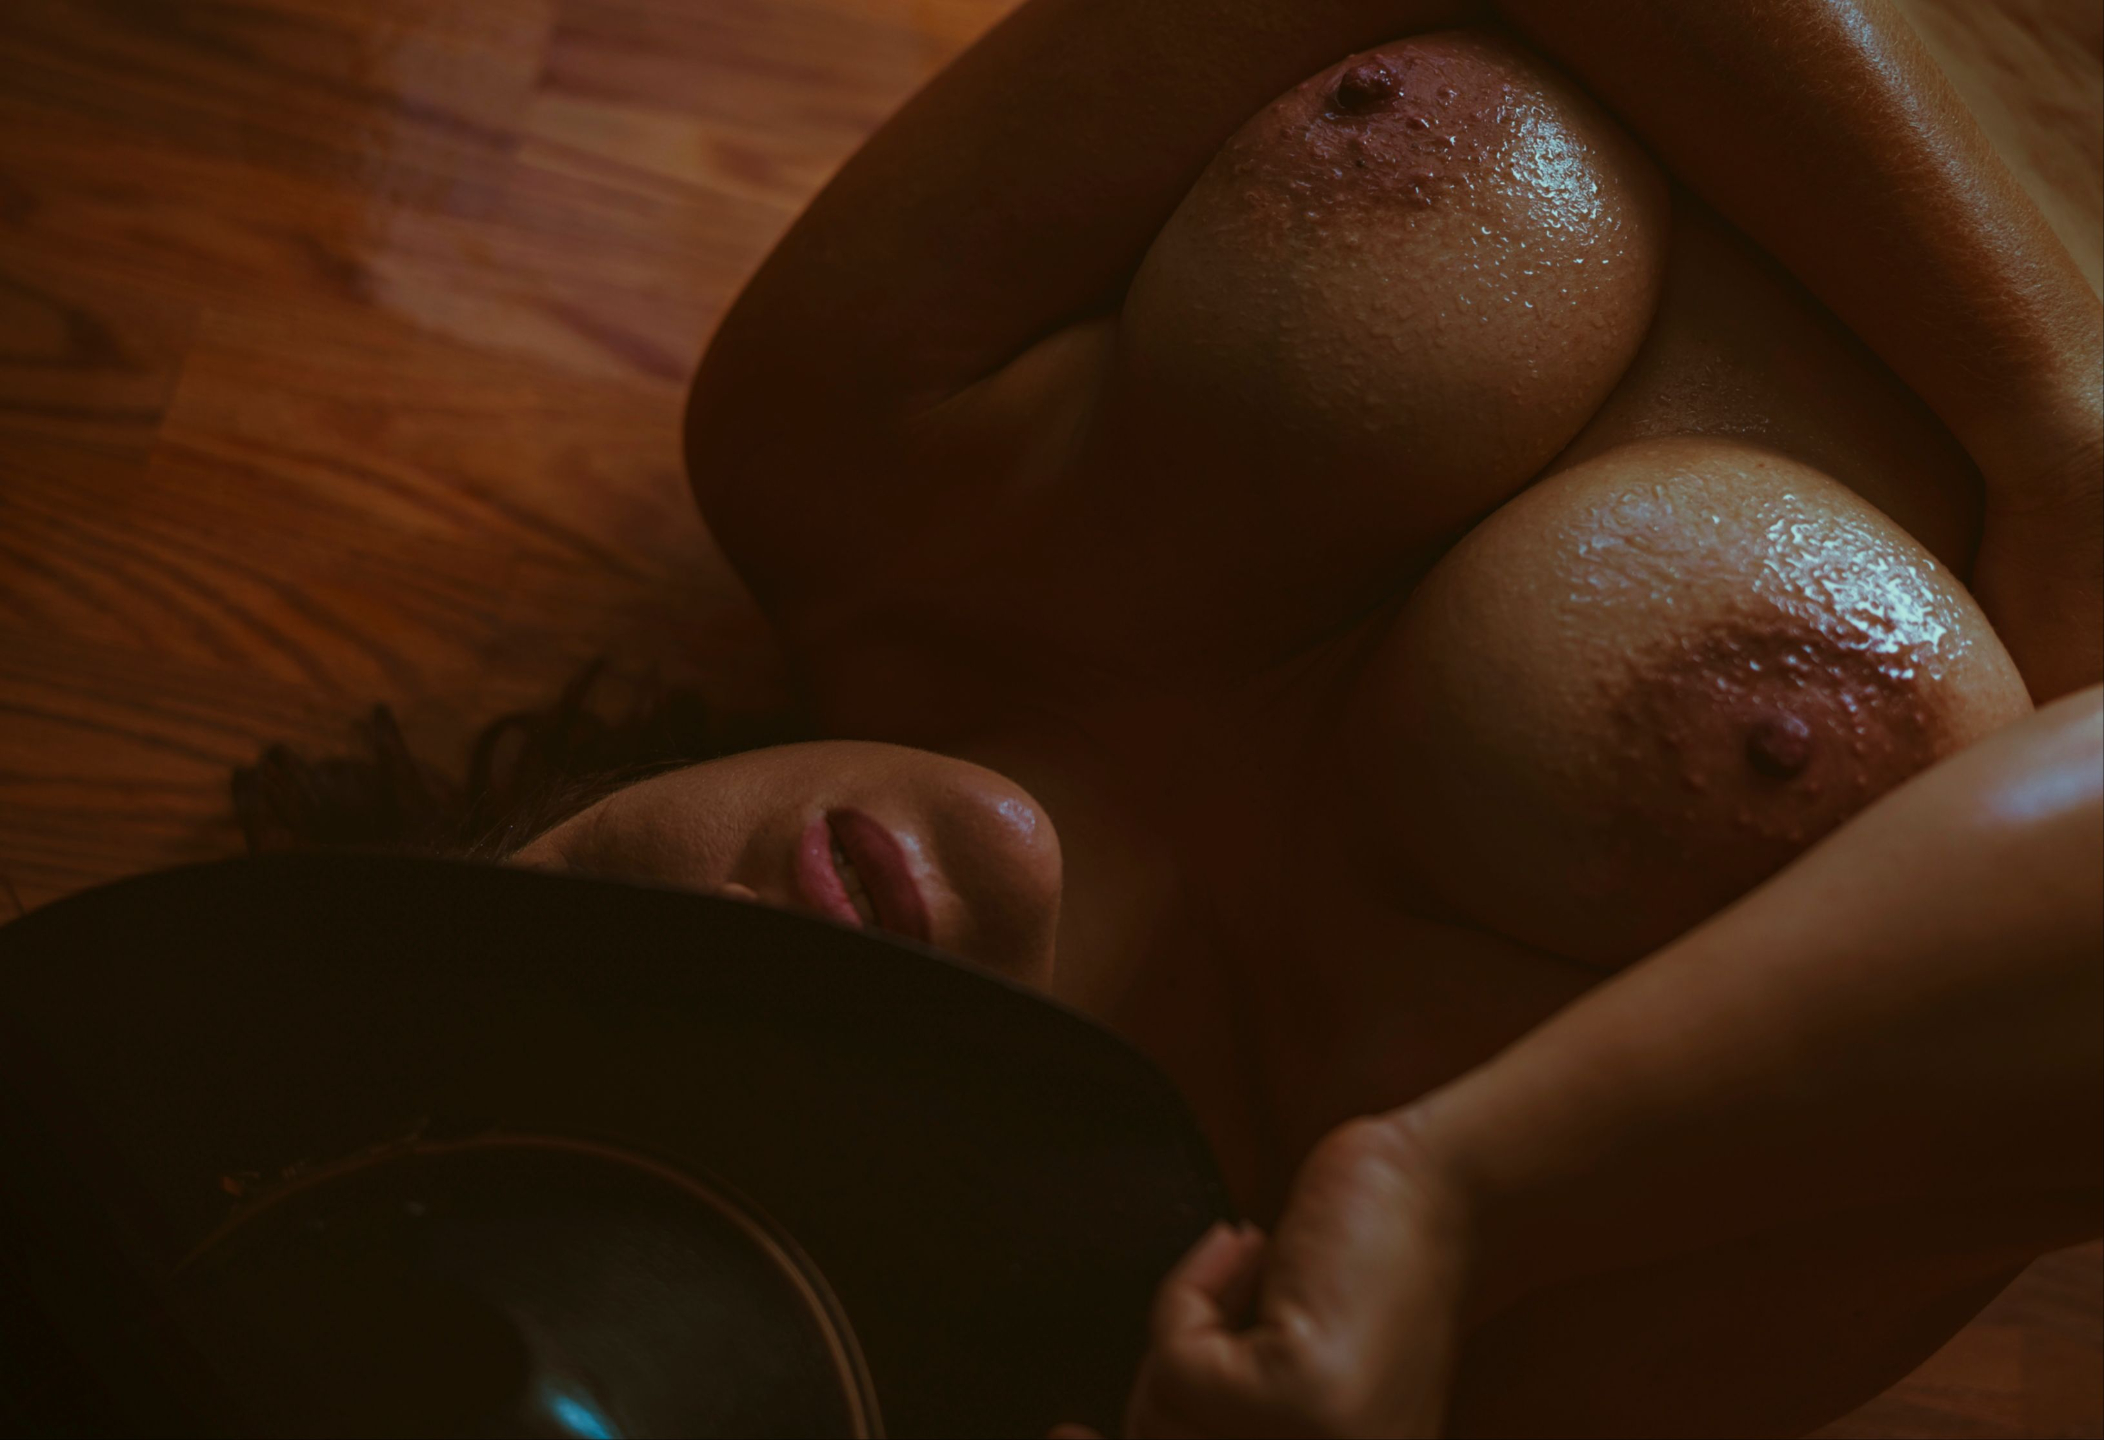
5. Indoor Water Looks Without a Mess
-
Pour water gently with a towel underneath the client
-
Use a spray bottle or cup—easy cleanup, same lighting principles
-
Mist skin and play with different oils for added glow and texture
6. Getting the Droplets to Pop
-
Backlighting is key: no light behind = no visible water
-
Choose darker backdrops for better contrast
-
Vary nozzle settings for different droplet textures—shower, mist, fan
7. Bonus Tips & Client-Safe Finishing Touches
-
Use dry oils or baby oil at the end for glowing, glassy skin
-
Save wet sets for the end of the shoot so hair/makeup stays intact
-
Use spray bottles for consistency across skin + background
Don’t forget to tag your results with #WetNWild—because I want to see what you create!

Got Questions?
Click HERE to head over to the BouDIY® Facebook Group and join the official Faux Rainroom post. Please check the thread first to see if your question has already been answered—then drop your comment so I or the community can help you out!
Supplies:
Resources
Click the Pink Text to check out:
BouDIY® Faux Shower (WAP)
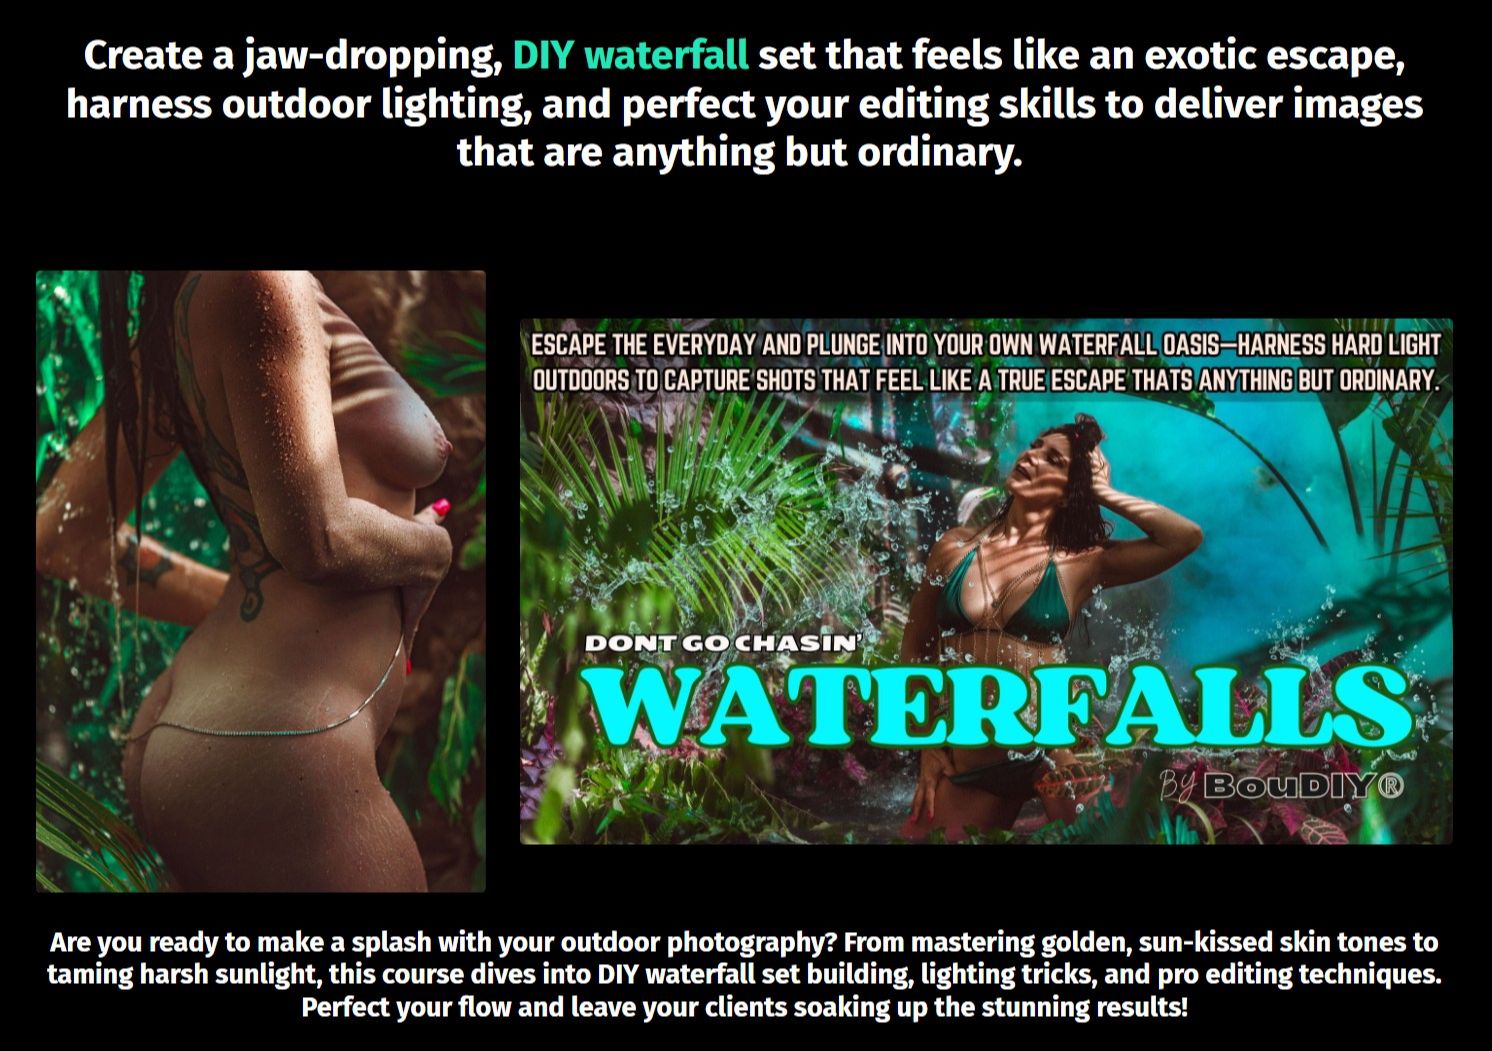
Want to Go Bigger With Your Water Shoots?
If you loved this, wait ‘til you see what’s possible with a full build.
Check out the BouDIY® Water Builds Collection—featuring my two most-loved trainings: