BouDIY® Shooting Dark & Moody: How to Light, Shoot & Edit Boudoir Photography
Are you struggling to achieve those deep, sultry shadows and rich, dramatic tones in your boudoir work? This training teaches you how to light, shoot, and edit dark & moody boudoir to create cinematic, jaw-dropping images every time.
What you'll learn:
-
Lighting strategies: rim light, backlight, and contrast control for dramatic results.
-
Shooting techniques: how to avoid flat, uninspired images and shoot with intent.
-
Editing secrets: clean skin tones, better balance, and noise-free detail preservation.
Common Frustrations Solved:
-
Your photos look flat and lack mood.
-
Your studio is too bright for moody lighting.
-
Your edits look muddy or noisy.
-
You struggle to balance light and shadow effectively.
Topics & Timestamps
Want to jump to a specific part of the training? Here’s your timestamp guide:
Skip the scrolling—go straight to the part you need.
Shooting Moody-0
Editing for Moody Shots 20:59
Using Lightroom Profiles 31:25
Preset Demo 39:26
And hey—if you're serious about mastering shooting dark & moody and elevating your boudoir photography across the board, Nudescapes is a must. It’ll take everything you learn here and push it even further. You can learn more at ShootNudescapes.com.
Lighting, Shooting & Editing for Boudoir
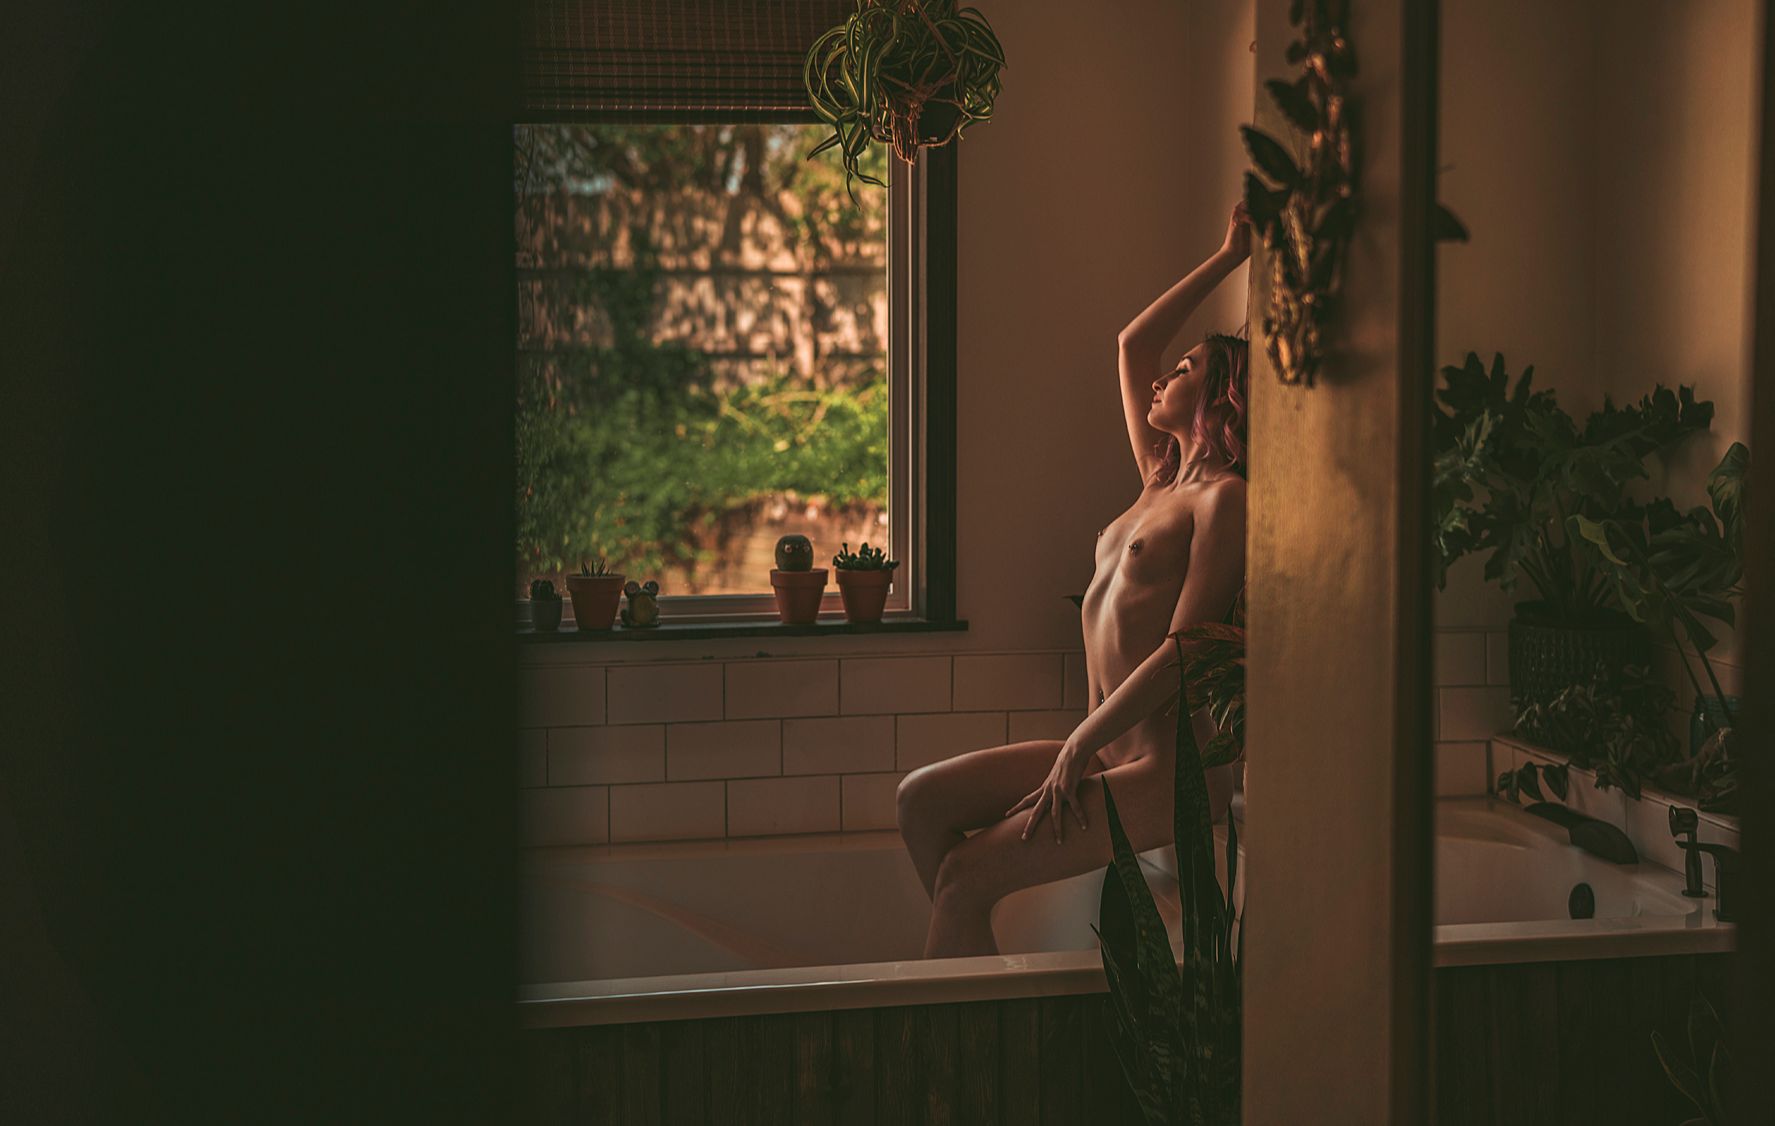
If your boudoir images lack depth, drama, or consistency, this training will show you how to fix it. Whether you're working with natural or artificial light, you'll learn how to control shadows, reduce noise, and enhance mood in-camera and in post.
Scroll Down for the link to the Free Basic Presets
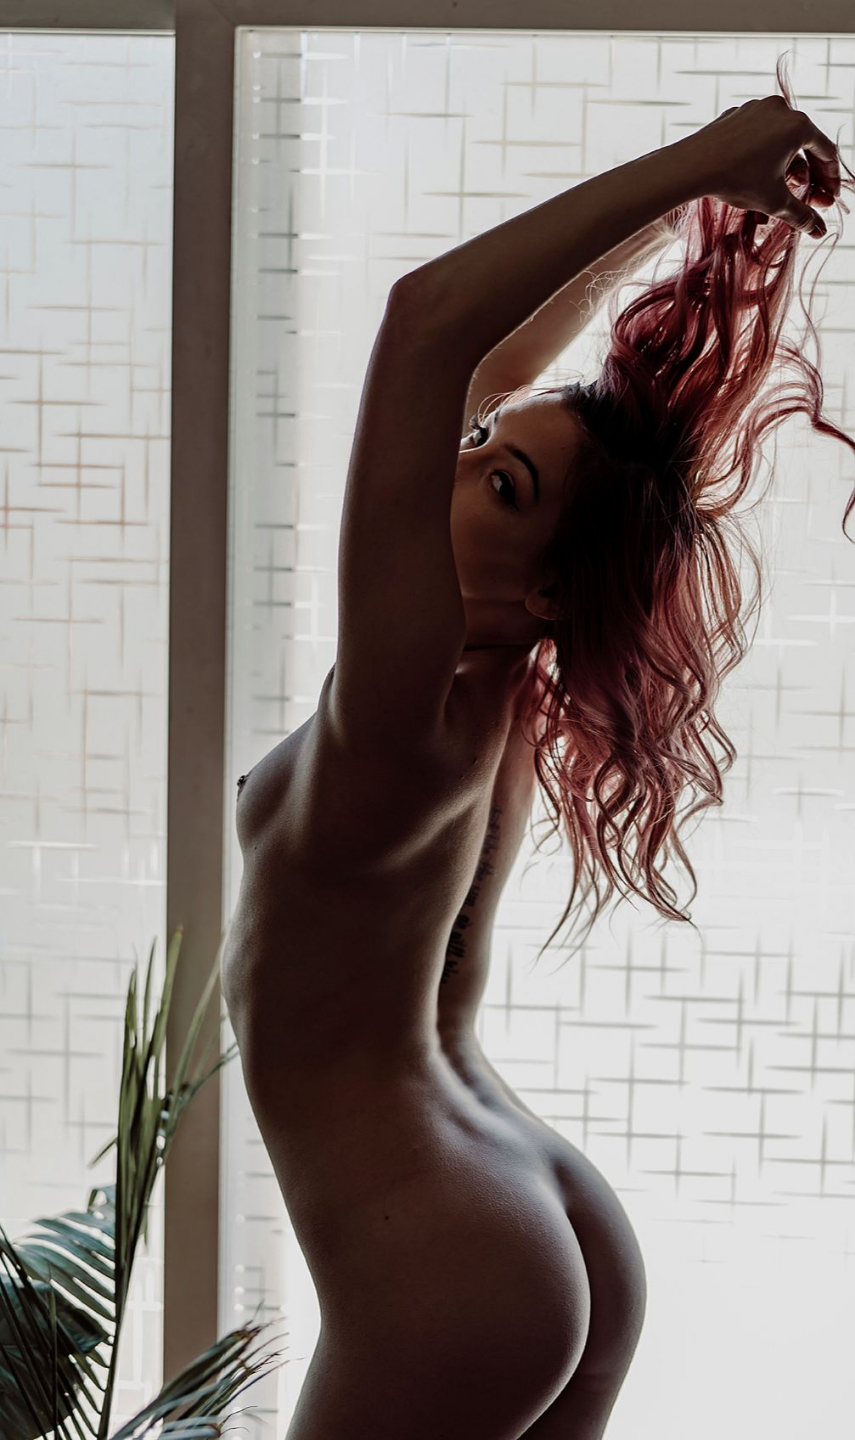
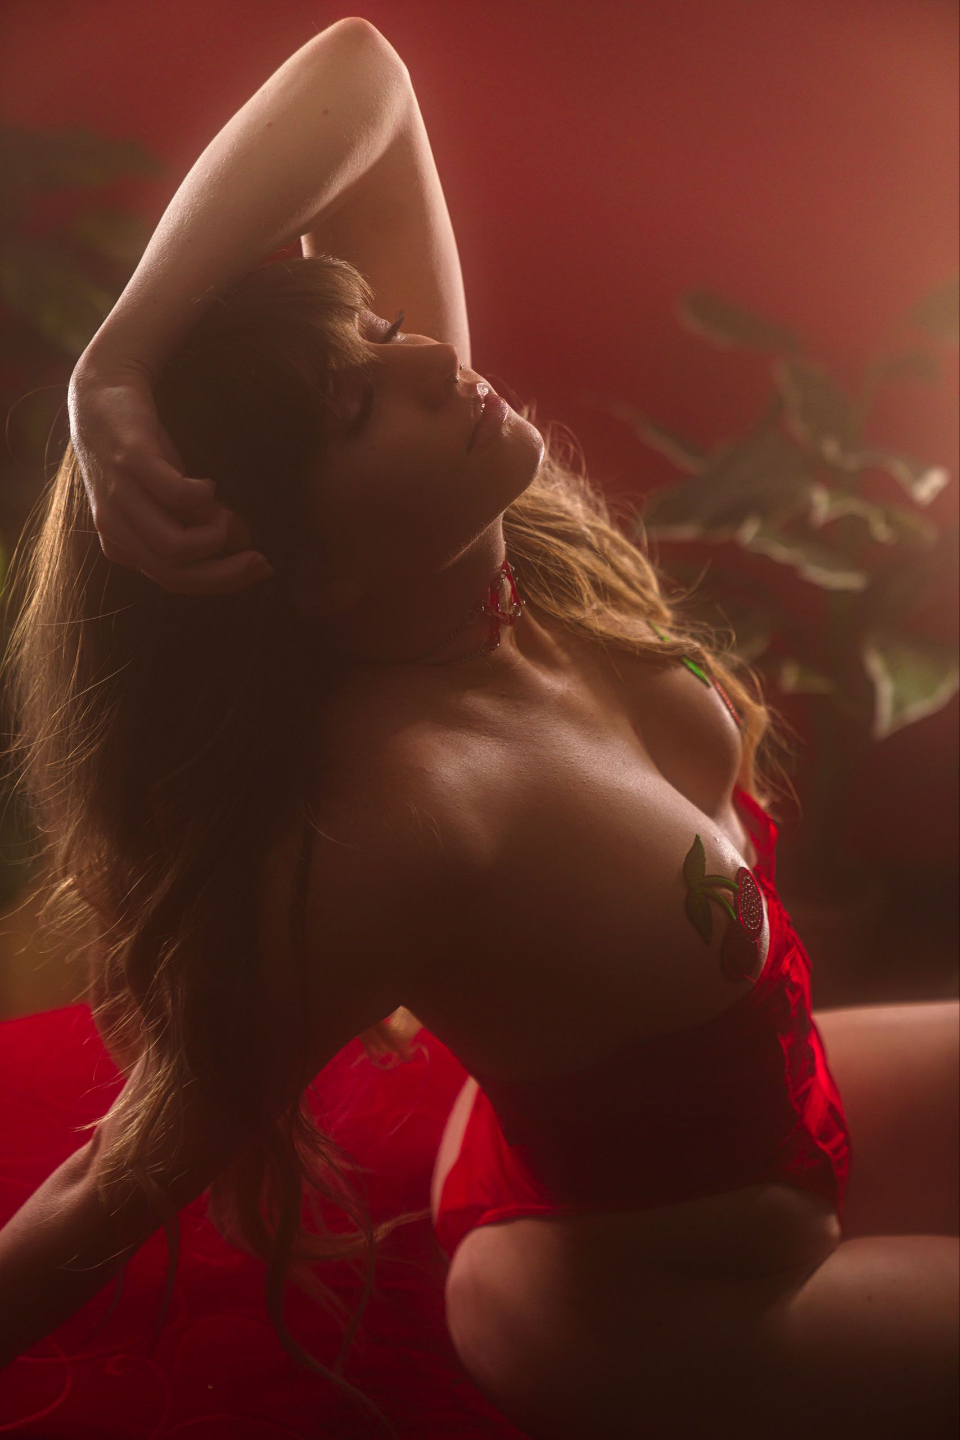
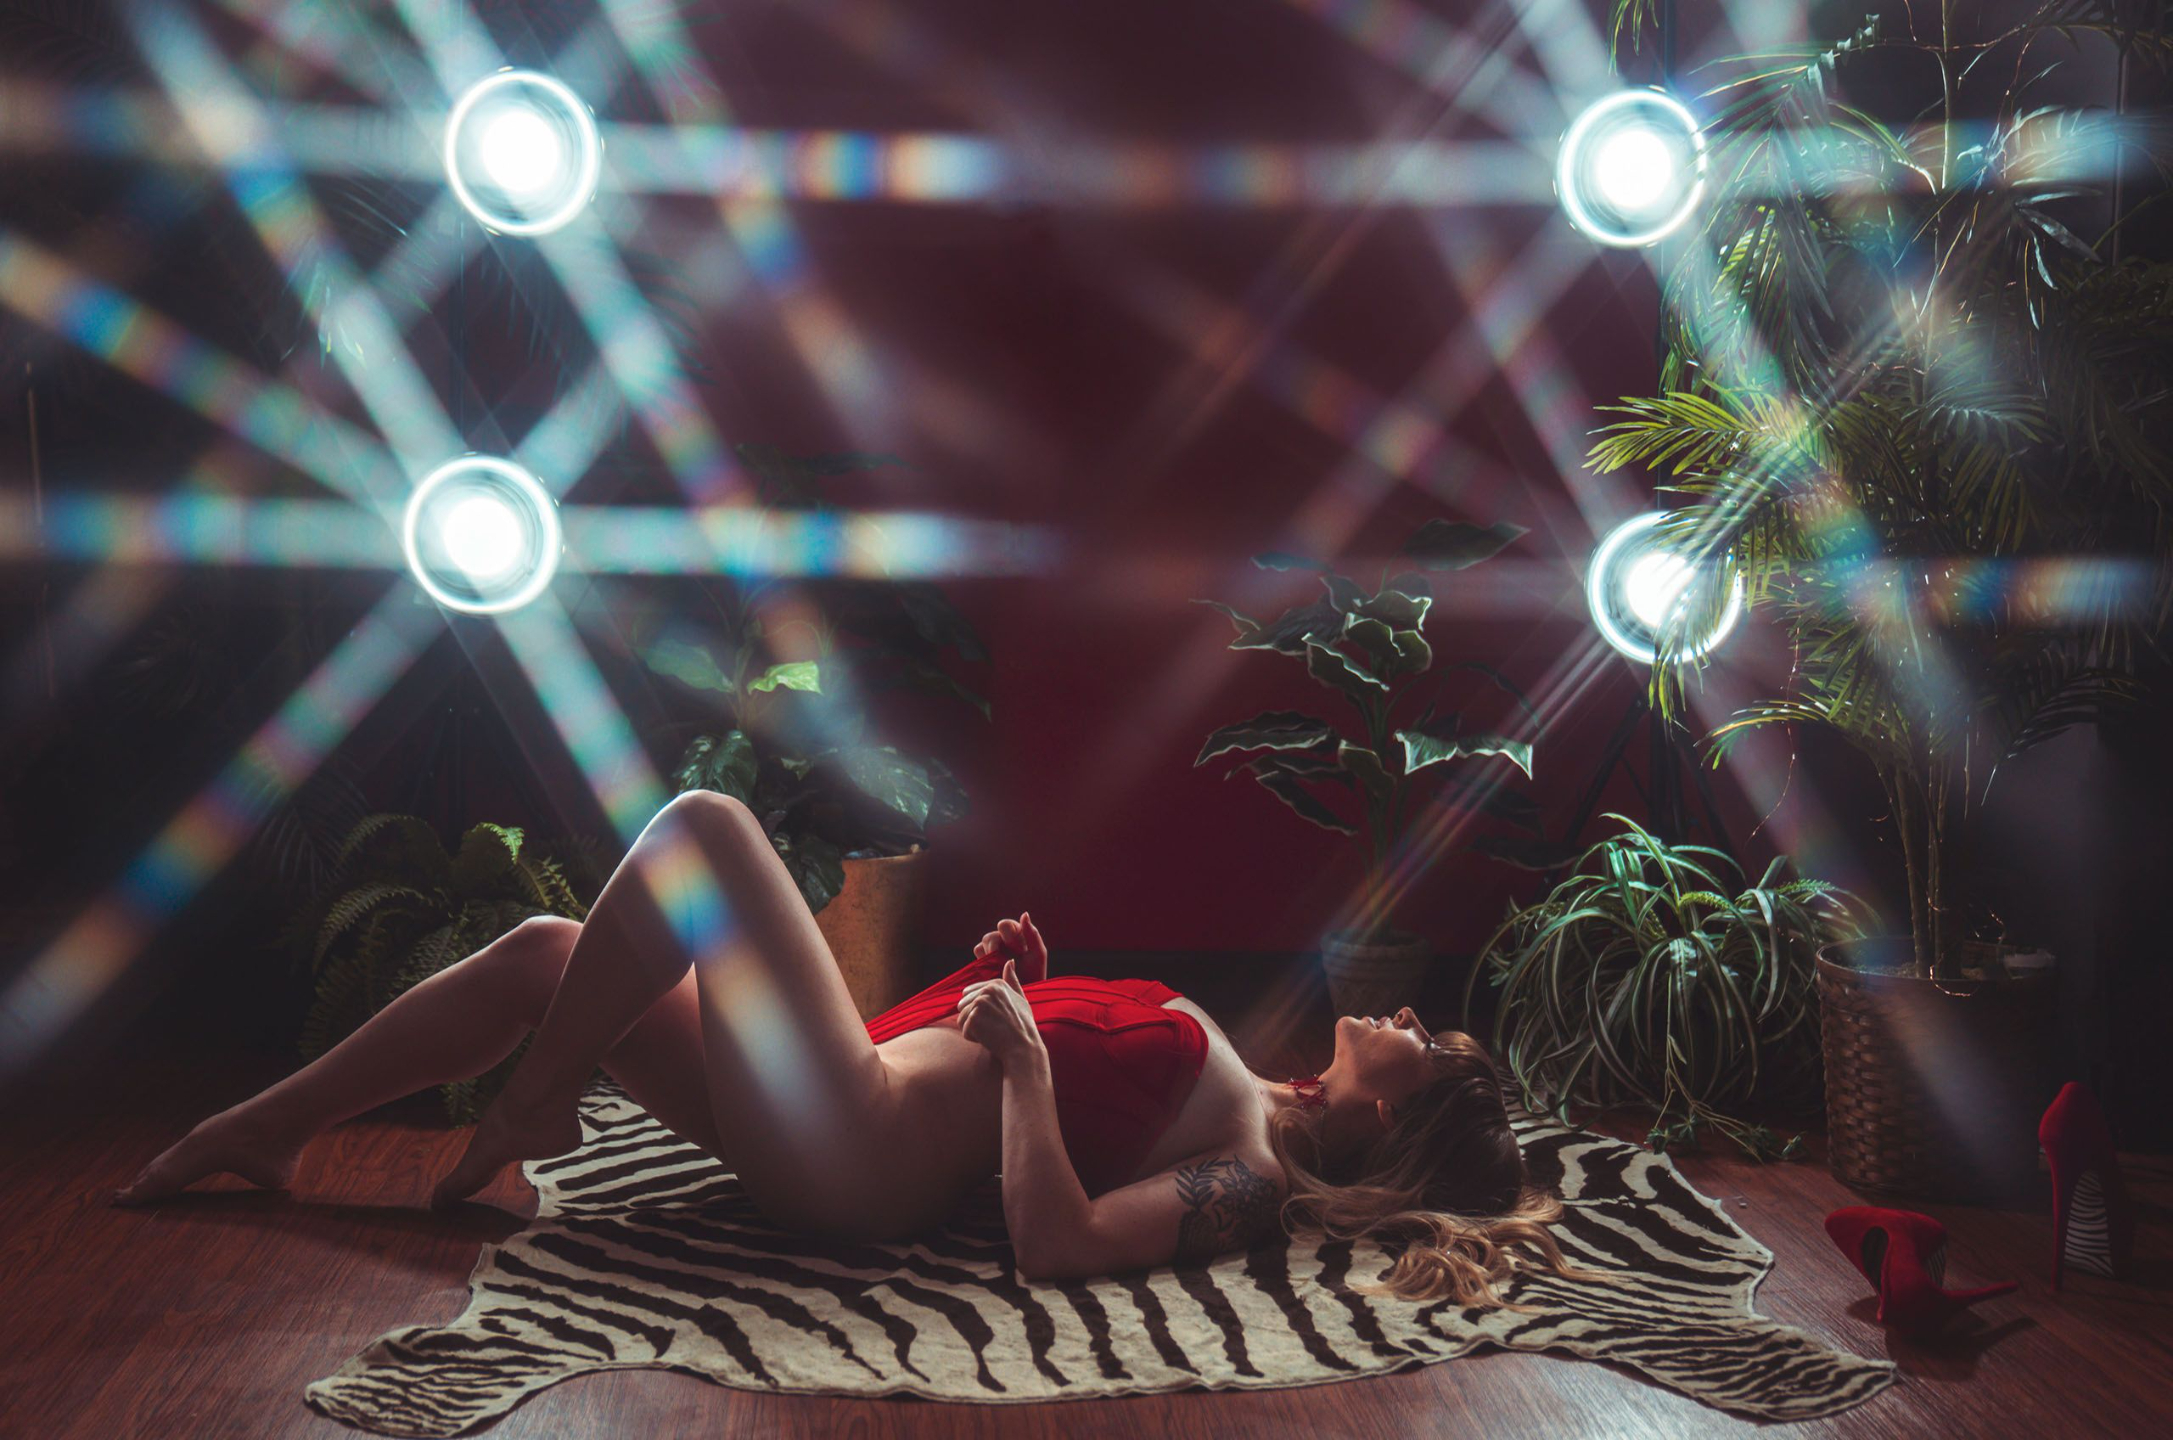
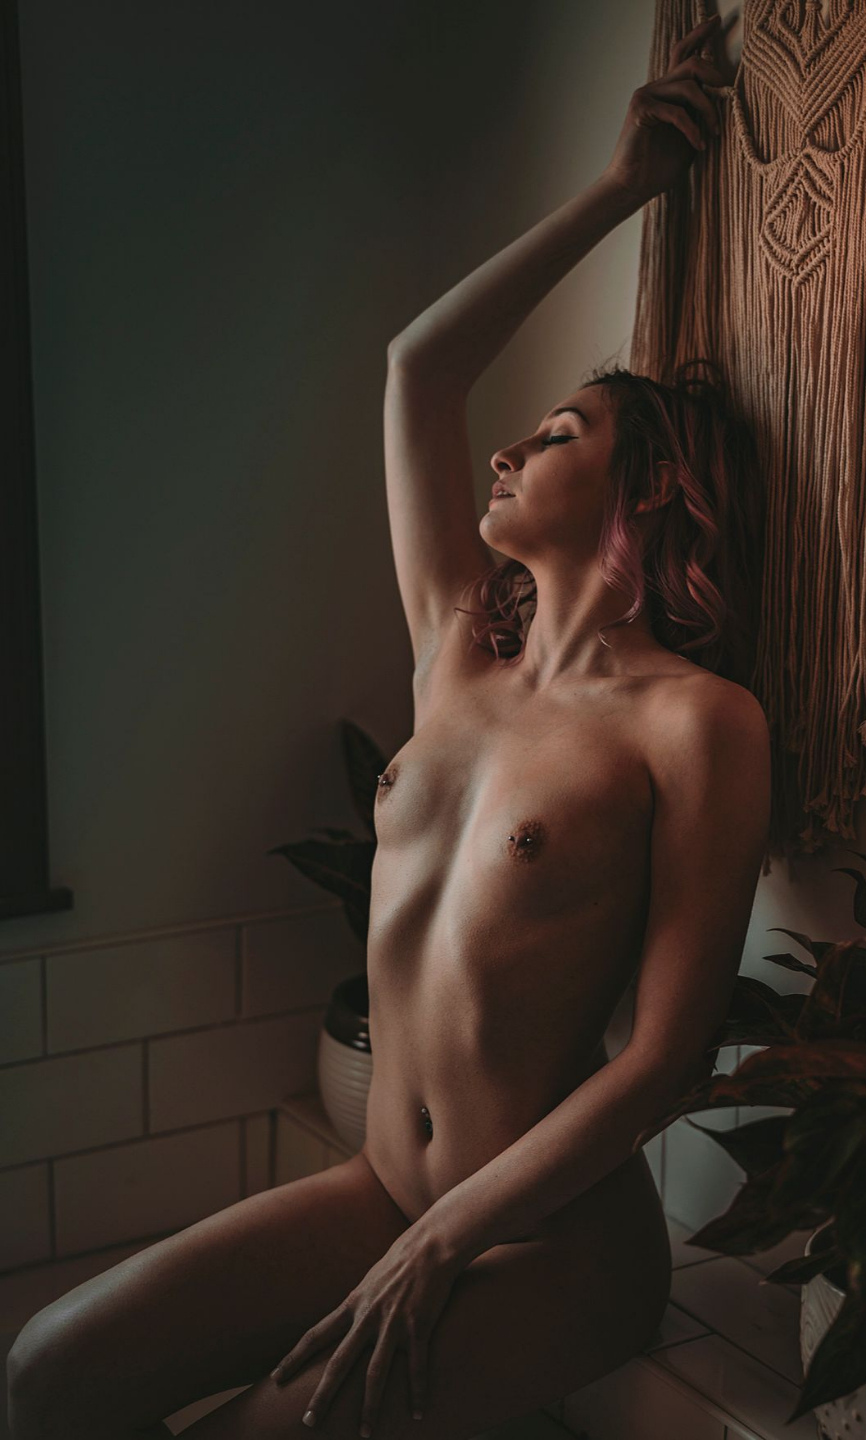
1. Lighting Strategies for Dark & Moody Boudoir
-
Use Backlighting & Rim Lighting – Place your subject in front of or slightly beside your light source to create dramatic contrast and defined shadows.
-
Get Close to the Light Source – The closer the subject is to the light, the faster the light "falls off," creating deeper shadows and higher contrast.
-
Control Light Spill – Use black flags, v-flats, or foam boards to block unwanted light and absorb excess brightness.
-
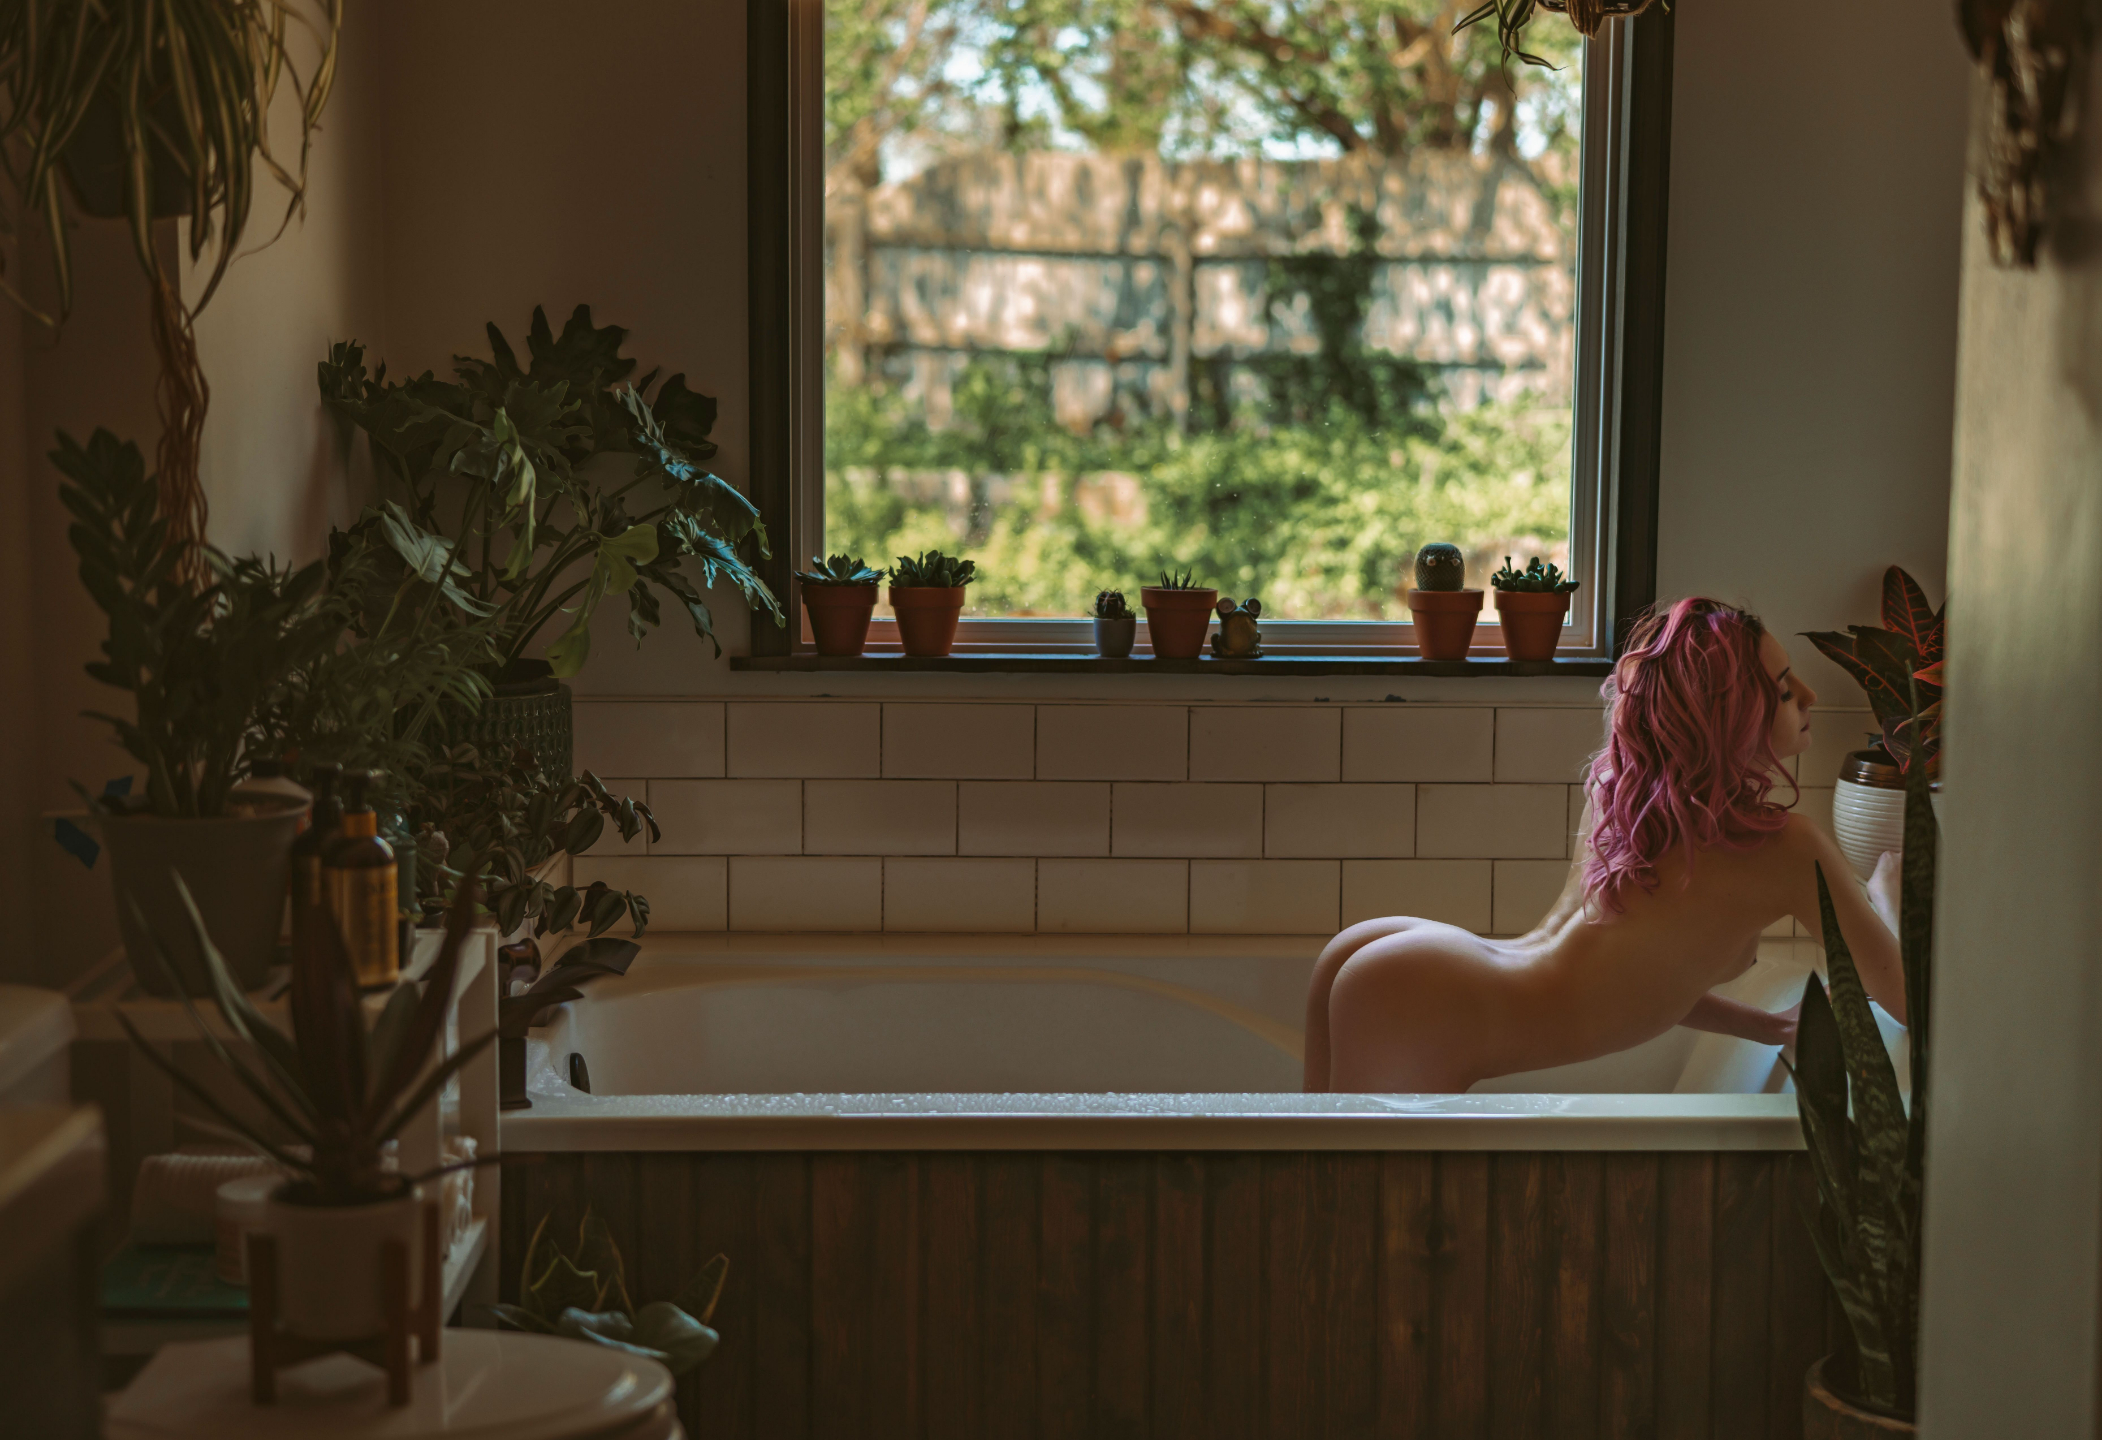
Window Light Tricks – If working with natural light, move your subject close to the window and expose for the highlights to achieve instant moody contrast.
-
Use a Fake Window Setup – If your studio lacks natural light, simulate window light with an LED panel or strobe and position it for a soft, directional glow.
-
Adjust Background Darkness – Move your subject farther from the background to make it darker or closer to keep it lighter.
2. Camera Settings for the Best Moody Shots
-
Shoot in Manual Mode – Control your settings to avoid flat, washed-out images.
-
Use a Wide Aperture (f/1.8 – f/2.8) – Allows in more light while keeping backgrounds soft and dreamy.
-
Shutter Speed: 1/125 Minimum – Keeps the image sharp while preventing motion blur.
-
ISO Balance – Keep ISO as low as possible to avoid noise (grain). If needed, increase it slightly but compensate with proper lighting.
-
Expose for Highlights – Make sure the brightest parts of the image aren’t overexposed so you retain detail.
-
White Balance Matters – Avoid Auto White Balance; set it manually (e.g., 5600K) for consistency.
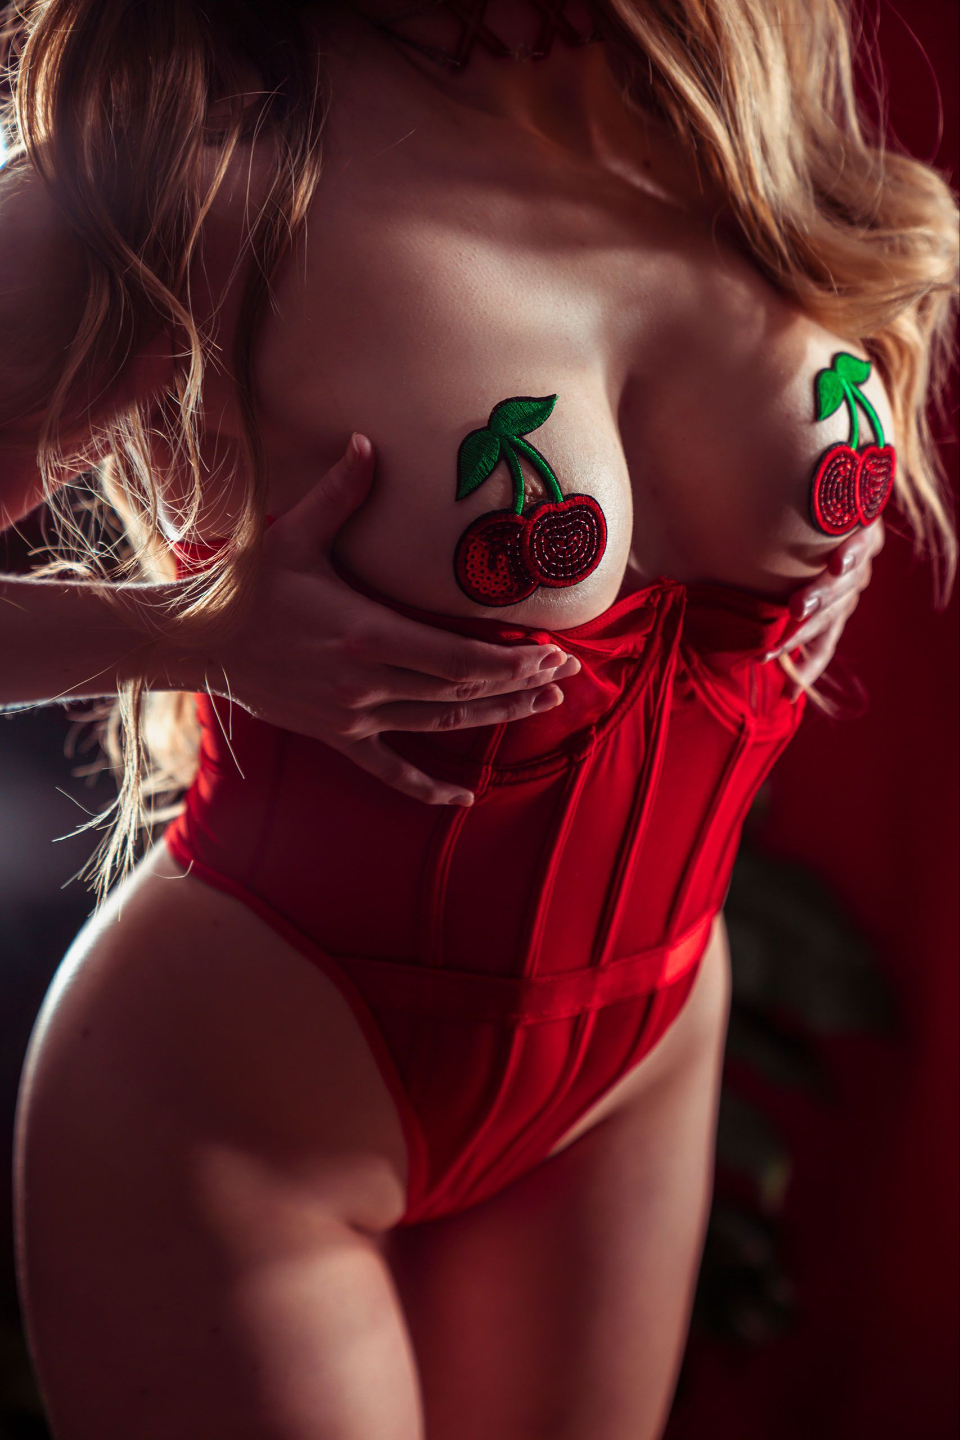
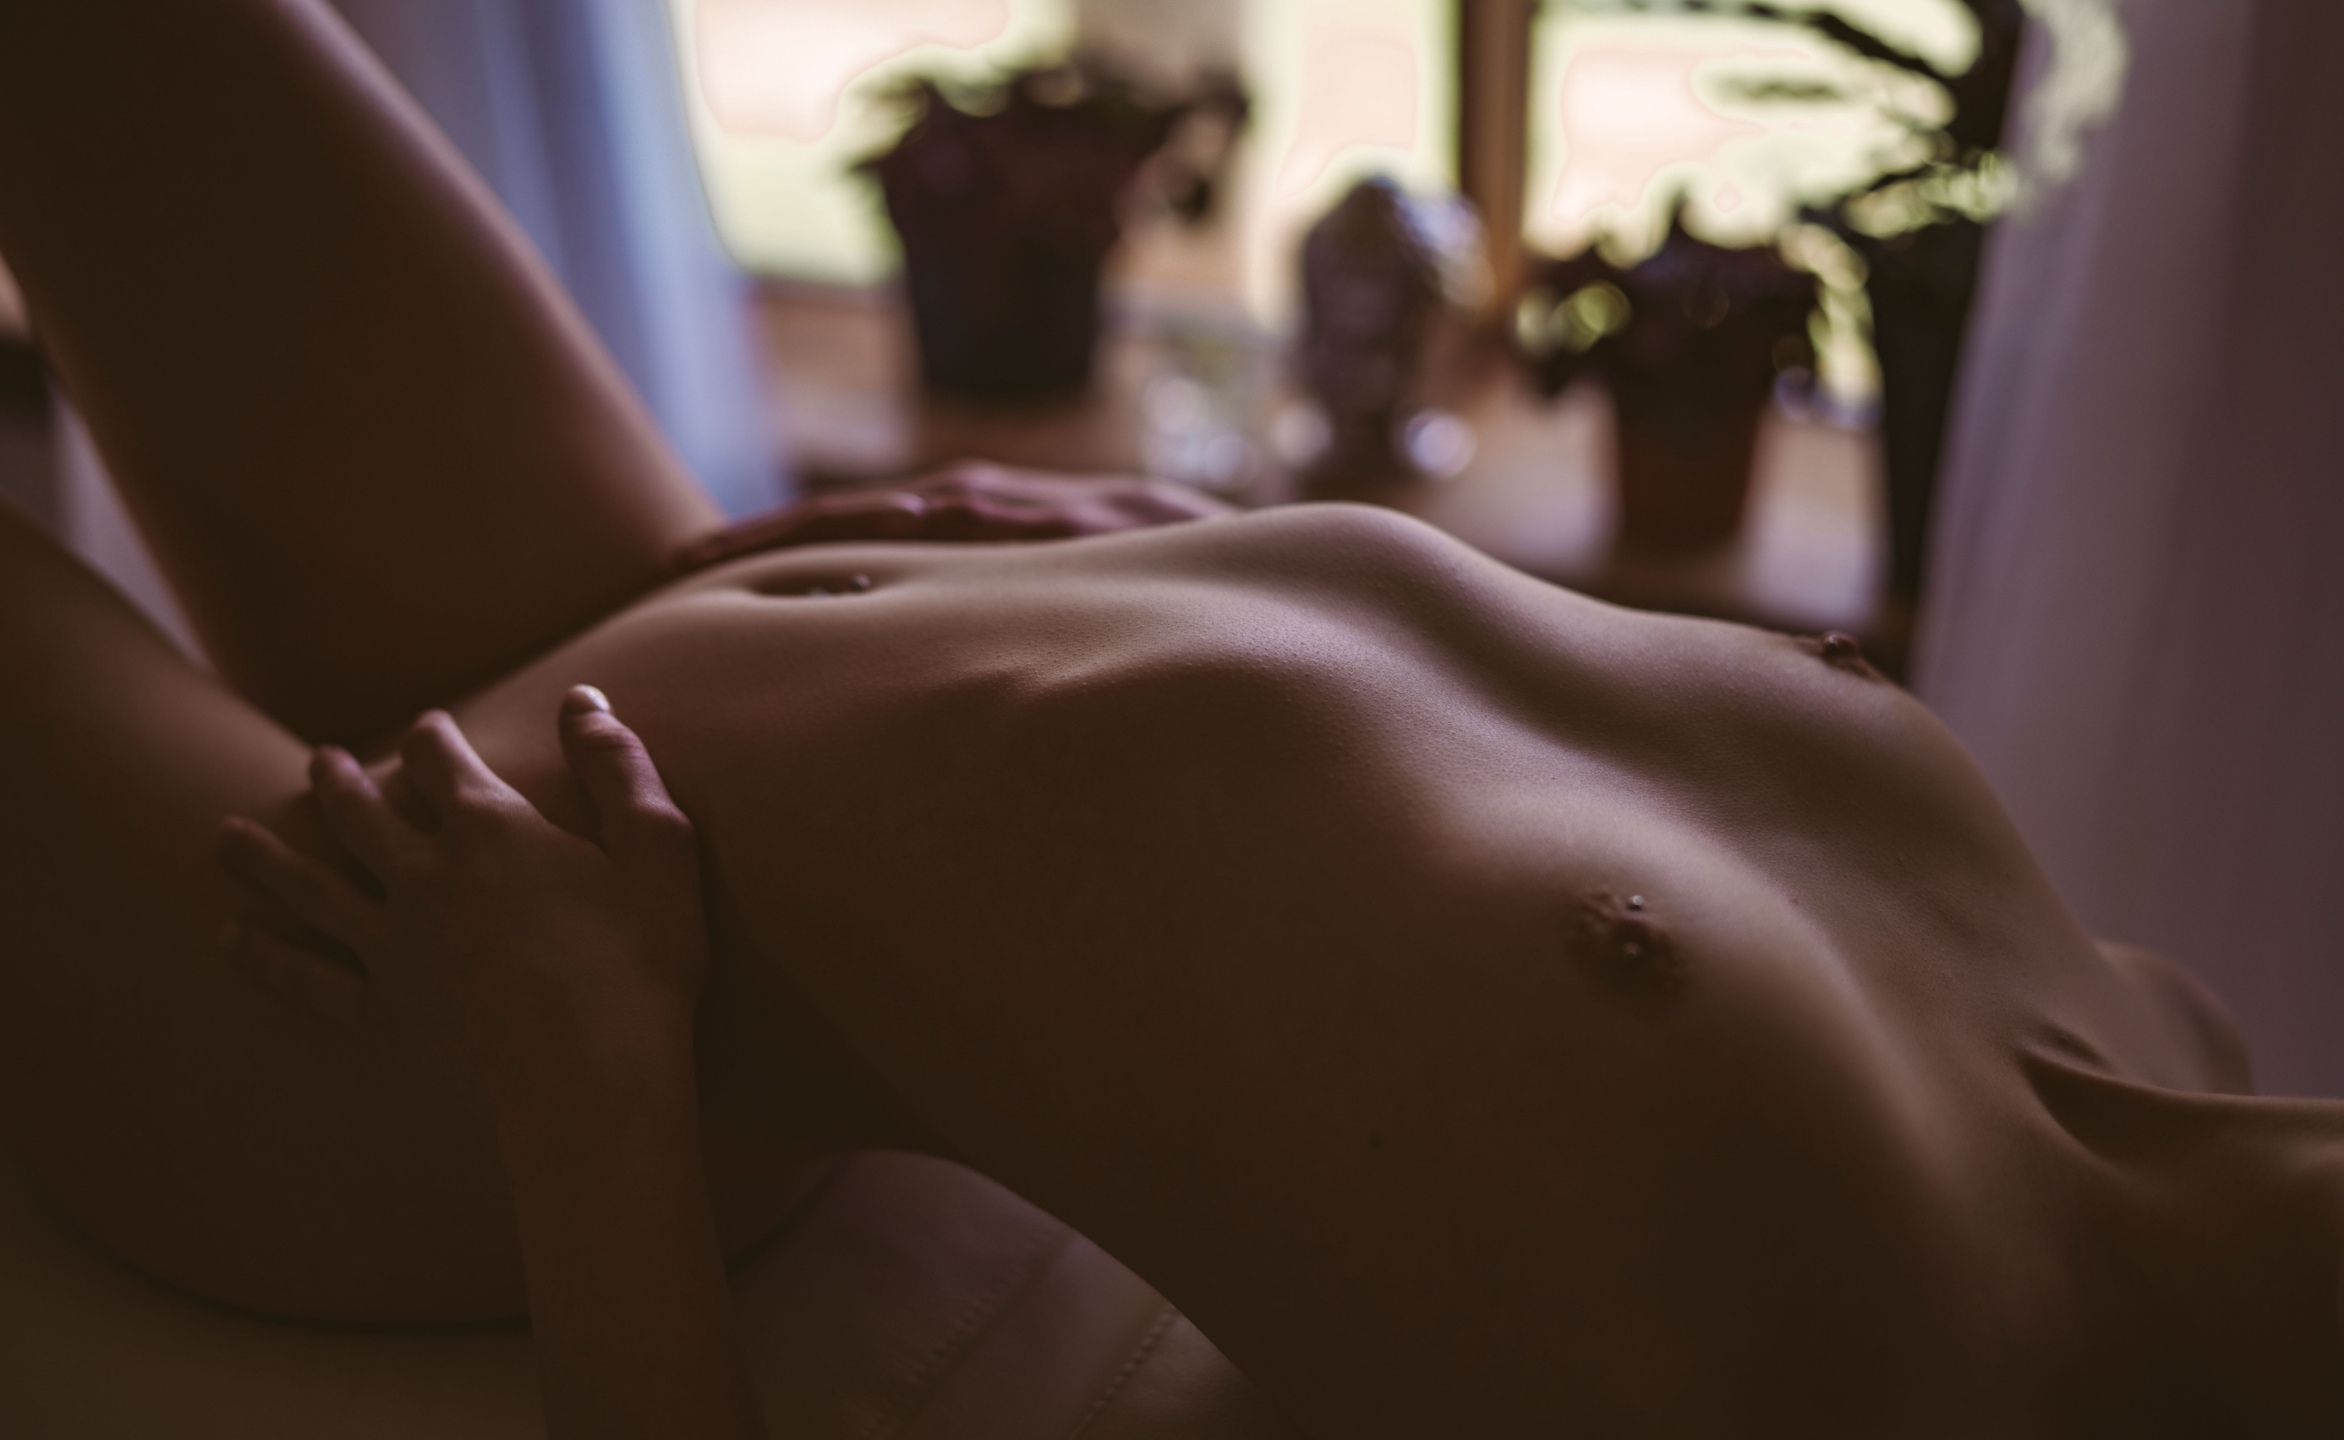
3. Creating Depth & Contrast in Your Shots
-
Use Light Falloff to Your Advantage – Light fades quickly when close to the subject, creating natural contrast.
-
Don’t Rely on Flat Lighting – Position your light at a 45-degree angle or behind the subject for depth.
-
Watch Your Shadows – If shadows look too muddy, adjust your subject’s position or add subtle fill light.
-
Enhance Mood with a Single Light Source – Avoid multiple competing lights; one strong directional light often works best for dark & moody shots.
4. Editing for a Dark & Moody Look
-
Lower Highlights & Increase Shadows – Helps balance skin tones without losing contrast.
-
Adjust Whites & Blacks Separately – Whites control bright areas, blacks deepen contrast without affecting midtones.
-
Avoid Overuse of the Dehaze Tool – Too much dehaze can cause color shifts and unnatural contrast.
-
Fix Grain Properly:
-
Luminance Noise – Grain across the entire image → Adjust Noise Reduction in Lightroom.
-
Color Noise – Green, red, or blue dots in shadows → Use Color Noise Reduction.
-
-
Use Gradual Adjustments – Small, subtle changes create a natural moody feel instead of an over-processed look.
5. How to Shoot Dark & Moody in a Bright Studio
-
Use Blackout Curtains – Block excess light from windows to create controlled shadows.
-
Use Black Flags or Foam Core Boards – Absorbs stray light and adds depth to the shadows.
-
Shoot with a Small Light Source – The smaller and closer the light, the sharper the shadows.
-
Expose for Shadows Instead of Bright Backgrounds – Helps create a naturally darker look even in bright spaces
Bonus Pro Tips
-
Keep Your Subject Close to the Light – This enhances contrast and prevents muddy skin tones.
-
Move Your Subject Away from the Background – This darkens the background without needing a different backdrop.
-
Never Overexpose – It’s easier to recover details from shadows than from blown-out highlights.
-
Use a 35mm or 50mm Lens for Boudoir – Prime lenses at f/1.8–f/2.5 work best for rich, moody tones.
Got Questions?
Click HERE to head over to the BouDIY® Facebook Group and join the official Shooting Moody Thread. Please check the thread first to see if your question has already been answered—then drop your comment so I or the community can help you out!
Freebies
Supplies:
Click on the text to be redirected.
- Faux Window
-
Small LEDs
- Neewer Panel (my Fav)
- Bi Color Panel
- RGB Cube
Resources
Click the Pink Text to check out:

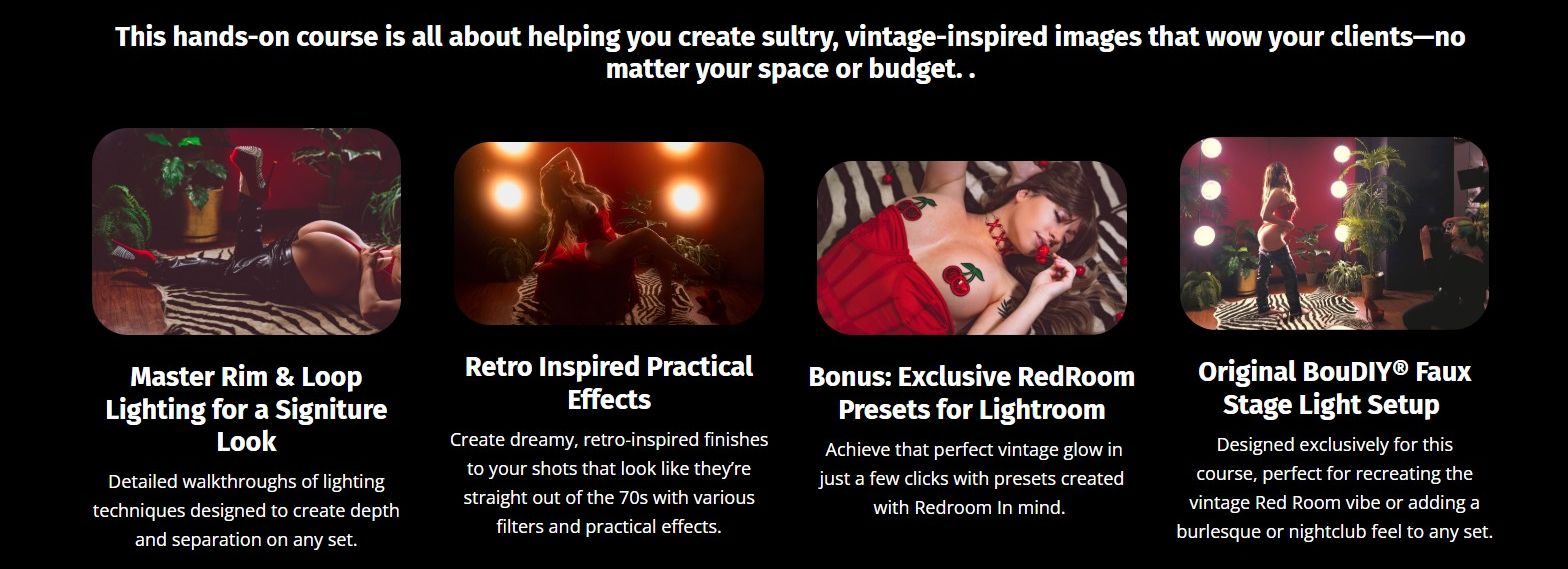
Want to take your moody shots from good… to centerfold-worthy?
If that free training opened your eyes to what’s possible…
RedRoom is where you start building real skills.
This is the ultimate beginner-friendly deep dive for photographers who want to create sultry, moody, vintage-inspired images that look like they belong on a centerfold — even in small spaces, and without any fancy gear.
But more than that — this course teaches you the foundations of how to light the body.
You’ll learn:
-
How to use rim and loop lighting to sculpt and flatter every curve
-
How to add depth, drama, and separation on set
-
The exact Faux Stage Light Setup I created just for RedRoom — no strobes, no softboxes (links and build included)
-
Fast, effective editing workflows to enhance mood without killing skin detail
-
How to finish with retro flair using Custom Lightroom Presets (included) + practical effects
If you're craving real, repeatable results — not just another set of “ideas” — RedRoom will give you the skills to light with confidence, edit with ease, and create bold, beautiful moody looks that actually land!